Disclaimer : This article concerns Computer Graphics which I follow with my M2 "Virtual and Augmented Reality" at IPParis.
First configure your machine with this link. Those installations could take a while. Warning, hololens 2 emulator isn't supported by Windows 10 Family.
For this lab we will follow this tutorial to train ourselves. After that I just created a new project : MR_project and repeated the third three steps (Configuration).

In Camera, you can clone the Profile, then in Display Setting change the Background Color to what you want.
Scene creation
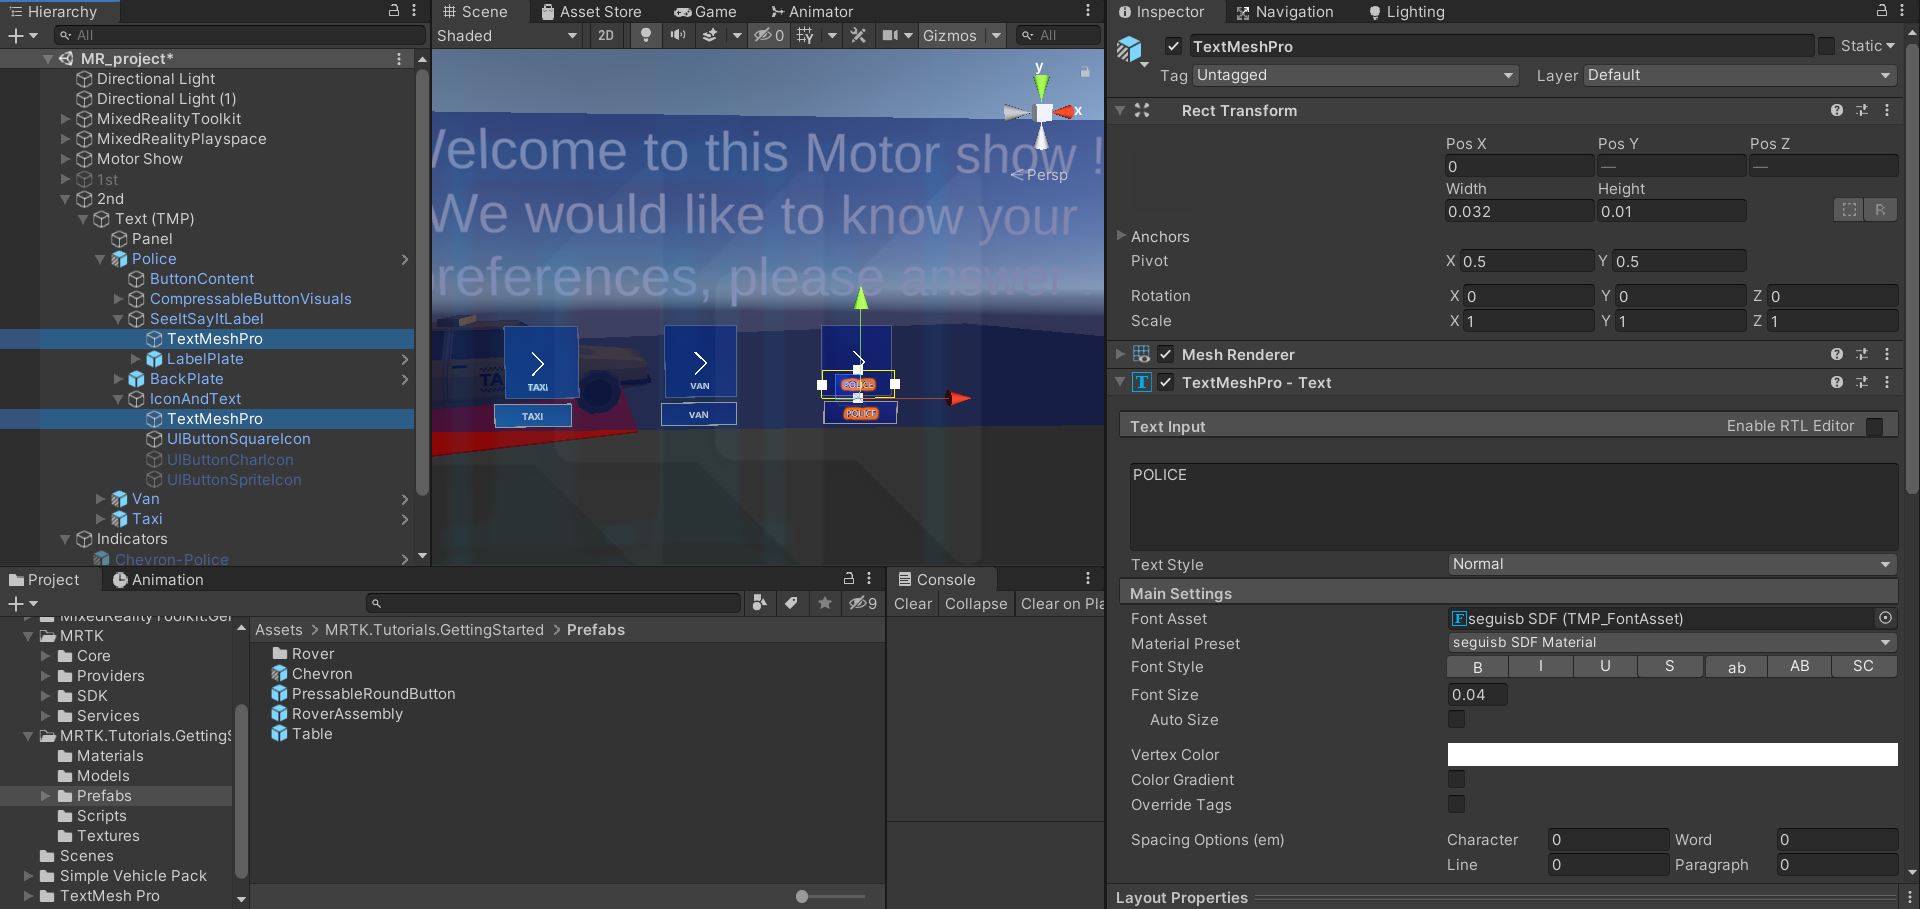
First, we need to create a simple scene with different cars on a big room like we were at Paris' Motor Show. My simple scene look like these :

For the xars I used Simple Cars Pack on the asset store.
The Github of MRTK gives you a lot of information and some reminder if you don't remember how to use something.
Welcome
For this step we will create a simple menu which gives an introduction to the project. We will add a "Continue" Button at the end of it to start the next steps. I ended with this simple solution :

It's important to say that all of this element are child of the same empty game object.
For the moment the button does nothing, but we will do it in the next step.
Car preferences
We deactivate the 1st game object (what we've done) before and create the next menu "2nd" :

I put a text on a panel (cube with material "transparent"). The next step is to add some buttons : one for every type of car. To do this we will use the github of MRTK to find what we need, I go down and pick buttons and the readme give me the path : MRTK/SDK/Features/UX/Interactable/Prefabs.

Such as before those buttons do nothing we will see their purpose in the next step.
Now we finished the "2nd" GameObject, we can go back to our first button. When we click on this button we want "1st" to disappear and "2nd" to appear. Click the button, go to "interactable" and add those 2 :

That's it ! Let's go to the next step.
Guidance
In this step, depends on what the person want to do we need to indicate him a direction. In the tutorial "5. Creating Dynamic Solver", they explain how you can simply do that. I will create one Chevron for each car - don't forget to rename them properly -. For each one you need to add "DirectionalIndicator" component. At the end the inspector of each Chevron looks like this :

Now we can go back to our "preference menu", where the person select is favorite model. And do the same thing as we do previously. Note that every Chevron is inactive when starting the app.

We finish this part, 2 steps remain.
Car interaction
In this part we want to change the color of the car. First we need to add a script, for each color, which permits to change the material :

Then place a simple Button, rename it correctly and in the event panel do this :

When you press the button it will change the material of the car, now just duplicate them for each car.
Rating
I just duplicate the panel of step 2. And do some little changes : text and buttons. Concerning the button I deactivate all previous indicators and add another one to have a scale of 5 :

To finish this part we will have some UI. First create a Canva (double-click on it +2D, to work properly) and add a dark image on it. Add a small animation, which goes from transparent to dark :

Disabled it. Still in the UI we will add a small exit button in the top right corner. This button will make "2nd" Game Object disappeared, put 3rd instead and enable a fifth indicator which guide our user to the end panel.

That's it for the UI part. Last thing, applied on each button "1,2,3,4,5" this :

So a Dark screen will appear to show the user its finish.
WELL DONE !
GitHub&Video
On this link you could access the code and the project from my GitHub. And this is a little video of this project :